

Use Case
Most people never actually need to paint a cold room panel. Our EPS panels arrive with a durable, pre-painted steel finish (Surfmist or Off-white) straight from the factory — clean, hygienic and ready to use. But there are good reasons you might still want to: matching a corporate colour, refreshing an older room, or tidying up a repair. This guide walks through how to paint cold room panels properly, so the finish actually lasts.
One quick note up front: Cool Room Master supplies the insulated panels — we do not sell paint or coatings. You will buy your paint from a specialist coatings supplier or hardware store. What we can do is help you choose the right panel and give honest advice on whether painting is even worth it for your project.

Do You Actually Need to Paint Your Cold Room Panels?
Cold room panels are built from an insulating foam core sandwiched between two pre-painted steel skins. That factory finish is already corrosion-resistant, wipe-clean and food-safe, which is why a brand-new room usually needs no paint at all. Consider painting only when:
- You want a custom or brand colour that the standard Surfmist/Off-white finish doesn’t cover.
- You’re refreshing an older room where the original coating has chalked, scratched or faded after years of use.
- You’ve made a repair or modification and need to blend a patch back into the wall.
- You need a specific compliance finish — for example a particular gloss level for a food-safety audit.
If you’re specifying a new build instead, it’s cheaper and cleaner to start with the right panel. Our 50mm EPS panels suit standard chillers, while 75mm panels are better for freezer rooms — both come pre-finished, so painting becomes optional rather than a job you’re forced into.
Choosing the Right Paint for Cold Room Panels
The finish lives or dies on the coating you pick. Cold rooms are cold, damp and cleaned often, so ordinary wall paint won’t hold. Three systems are commonly used:
| Paint type | Best for | Worth knowing |
|---|---|---|
| 2-pack epoxy | Wash-down areas, food prep, high-hygiene rooms | Toughest and most chemical-resistant; needs careful mixing and ventilation |
| Water-based acrylic | General refresh, low-odour jobs, occupied sites | Low VOC, fast drying, easy clean-up; less hard-wearing than epoxy |
| Polyurethane / PVDF topcoat | Maximum durability and colour retention | Excellent abrasion and UV resistance; usually applied over a primer |
What to check before you buy
- Temperature & humidity rating — the paint must cure and stay flexible in cold, damp conditions without cracking or peeling.
- Food-safe / HACCP compliance — essential if the room stores food; look for a food-contact-safe or USDA-style rating.
- Adhesion to pre-painted steel — panels already have a coating, so confirm the paint (or its primer) is designed to bond to a factory-painted surface.
- Low VOC — enclosed rooms trap fumes, so lower-odour products are safer to apply.
Not sure a repaint is worth it versus swapping a panel? Talk to our team — we’ll give you a straight answer.
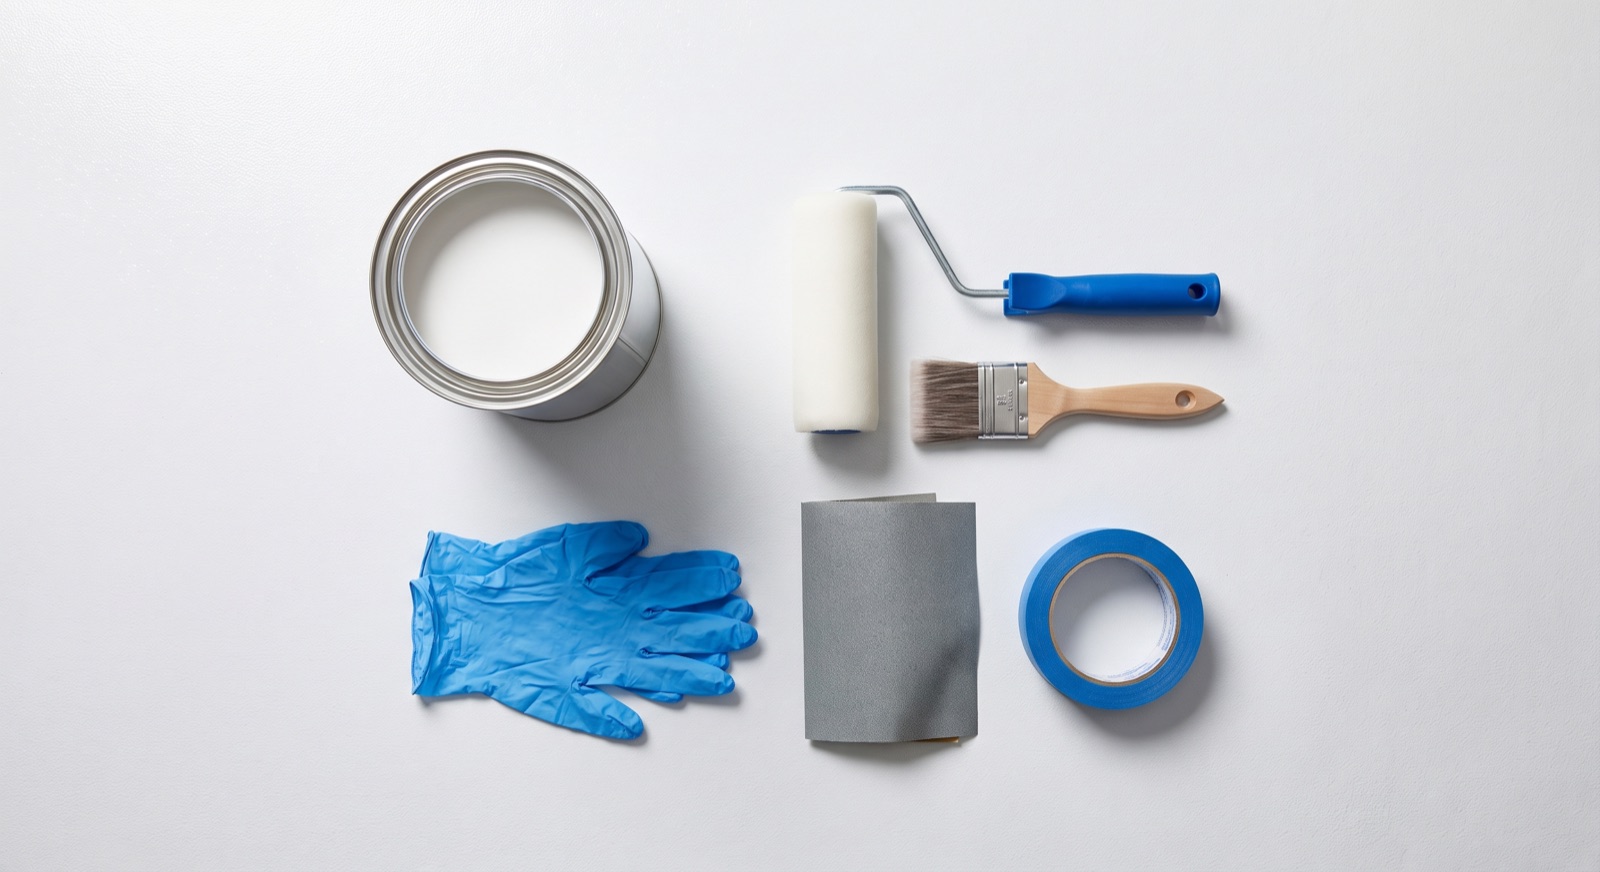
Tools You’ll Need
- Degreaser or sugar-soap and clean cloths
- Fine sandpaper or a scouring pad (for scuffing the surface)
- Compatible primer for pre-painted steel
- Foam roller for flat panel faces, plus an angled brush for corners and channels
- Masking tape and drop sheets
- Nitrile gloves, eye protection and a respirator (especially for epoxy)
How to Paint Cold Room Panels: Step by Step
Step 1 — Clean and degrease
Wash every surface with degreaser to strip grease, dust and cleaning residue. Any film left behind stops the new coat from bonding. Rinse and let the panels dry completely.
Step 2 — Scuff and repair
Lightly scuff the glossy factory finish with fine sandpaper so the primer has something to grip. Fix any dents, seal open foam edges, and wipe away all sanding dust before you go further.
Step 3 — Prime
Apply a primer made for insulated or pre-painted steel panels — ideally one matched to your topcoat (an epoxy primer under epoxy paint, for example). Primer seals the surface, blocks corrosion and dramatically improves adhesion. Let it cure for the full time on the product sheet.
Step 4 — Apply the topcoat
Roll the flat faces and cut in the corners and channels with a brush. Two thin, even coats beat one thick coat every time — thick coats sag, trap solvent and take longer to harden. Respect the recoat window on the tin.
Step 5 — Cure and inspect
Let the coating fully cure before the room goes back into service — epoxies in particular need time to reach full hardness. Once cured, check for thin spots, drips or missed edges and touch them up.
Pro Tips for a Durable, Hygienic Finish
- Test a small patch first to confirm the paint bonds to your specific panel finish before doing the whole room.
- Control the temperature. Most coatings won’t cure properly in a running cold room — paint before the refrigeration is switched on, or warm the space per the paint’s spec.
- Ventilate well, especially with 2-pack epoxy.
- Keep corners and joins clean — rounded, well-sealed edges are easier to wipe down and pass hygiene audits.
Common Mistakes to Avoid
- Painting over grease or a glossy surface with no prep — the coat will peel.
- Skipping primer and hoping the topcoat sticks to bare pre-painted steel.
- Using standard interior wall paint that can’t handle cold and moisture.
- Painting a cold room while the refrigeration is running, so the coating never cures.
- Ignoring the panel manufacturer’s guidance and voiding a warranty.
Frequently Asked Questions
Can you paint pre-painted cold room panels?
Yes. Scuff the factory finish, apply a compatible primer, then a suitable topcoat. Good prep is what makes it last.
What paint is food-safe for a cold room?
A 2-pack epoxy system is the usual choice for wash-down and food-prep areas thanks to its chemical resistance and easy cleaning. Always confirm the product is rated food-contact safe.
Will painting void my panel warranty?
It can, depending on the manufacturer. Check the warranty and coating guidance before you start, and test a small section first.
Do you sell the paint?
No — we supply the insulated panels and channels, not paint. Buy your coating from a specialist paint supplier, and come to us for the panels.
Prefer a Finish That Never Needs Painting?
The simplest way to avoid painting is to start with a quality pre-finished panel. Every panel we supply comes with a clean, hygienic factory steel finish that’s ready to use on day one. Browse our 50mm and 75mm EPS panels, size your job with our coolroom panel calculator, or contact our Adelaide team for a same-business-day quote. Still weighing it up? Our companion guide, Can You Paint Coolroom Panels?, covers the compatibility side in more detail.
