

Use Case
🛒 EPS Panels + Joining Accessories — All In One Place
Cool Room Masters supplies Z-lock EPS panels with matching C-channel, corner channel and floor channel accessories. Everything you need for a complete install.
Shop 50mm Panels → C-Channel → Corner Channel →Installing cold room panels correctly is critical to the performance, lifespan, and energy efficiency of any coolroom or freezer. Even high-quality insulated panels can fail if installation steps are rushed or sealing is incomplete. This guide walks through the correct process for installing cold room panels — from site preparation to final checks — so you can achieve airtight joints, minimise condensation risk, and keep running costs under control. All panels referenced are available from our Adelaide warehouse with Australia-wide delivery.
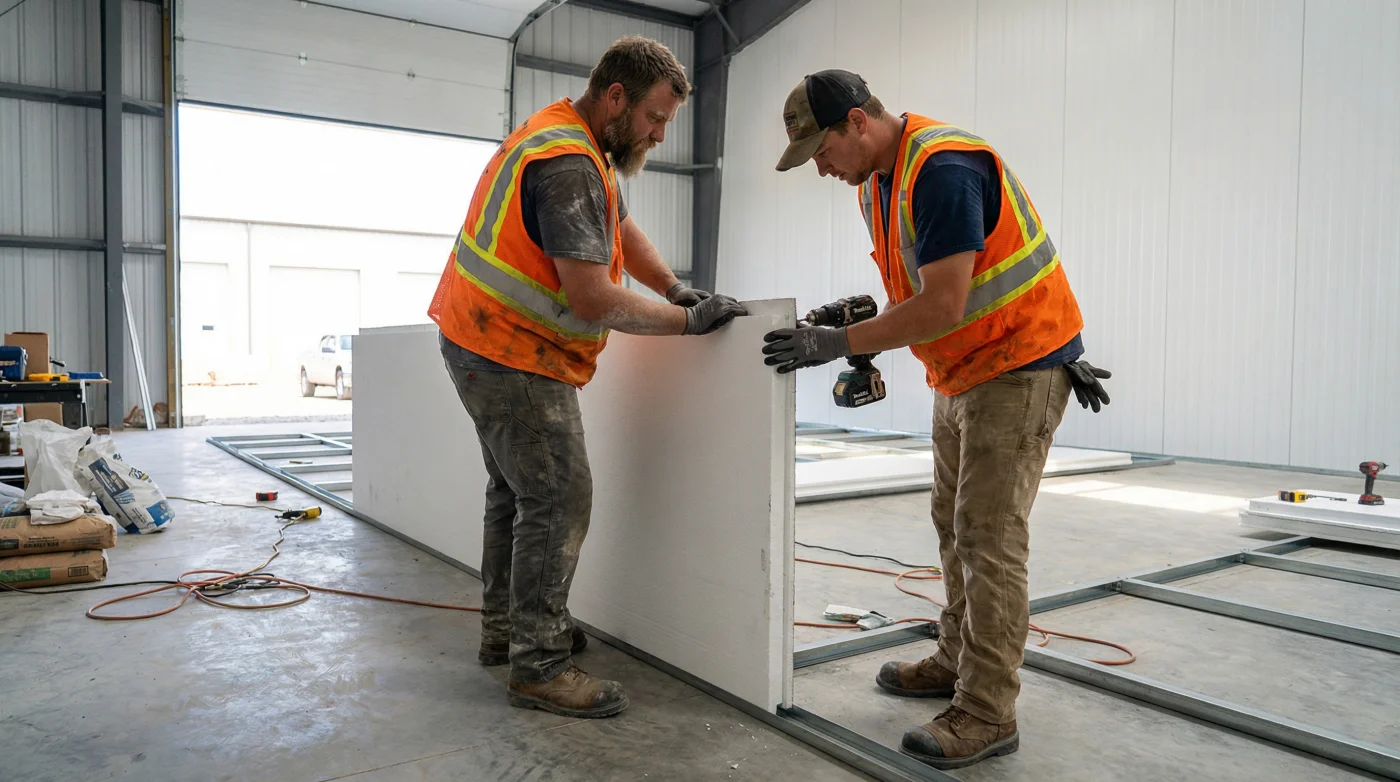
1 Prepare the Site Before Installing Panels
Most installation problems begin with poor preparation. Before any panel is lifted, ensure the site is ready:
- Floor or slab is level, clean, and dry
- All wall lines and corners are clearly marked
- There is enough space to handle and stage panels safely
- Drainage and floor finishes are completed if required
Why this matters: A level base ensures panel joints align correctly. Even small floor deviations can cause gaps and sealing failures that are expensive to fix after installation.
2 Select the Correct Panel Thickness
Planning the whole room, not just the joins? Read our complete cool room installation guide — slab prep, door position, panel sequence and the mistakes that cost most.
Panel thickness must match your target temperature and usage. Installing panels that are too thin often leads to condensation, ice build-up, and higher energy consumption.
| Panel Thickness | Typical Application | Temperature Range |
|---|---|---|
| 35mm EPS | Light-duty coolrooms, display fridges, wine storage | +2 °C to +10 °C |
| 50mm EPS ★ | Standard commercial cold rooms, butchers, grocers | 0 °C to +5 °C |
| 75mm EPS | High-duty cool rooms, hot climates like SA summers | −18 °C (freezer room) |
| 100mm+ PU/PIR | Freezer rooms, deep-freeze storage | −18 °C and below |
✅ Not sure which thickness you need? Our Adelaide team will spec the right panel for your room size, ambient temperature and duty cycle.
Ask Our Team →3 Start with the First Panel (Accuracy Matters)
The first wall panel sets the alignment for the entire room. Take time to ensure it is:
- Perfectly plumb and square
- Fully supported along its base
- Correctly positioned relative to door openings
⚠️ Common mistake: Rushing the first panel is the most common cause of alignment problems across the entire build. Spend the extra 15 minutes here — it saves hours later.
4 Join Panels with Continuous Sealing
As panels are installed, joints must be sealed continuously to prevent air and moisture movement. Depending on the panel system, sealing may include:
- PU foam — for internal gaps at Z-lock joints
- Butyl tape — for vapour sealing at metal-to-metal joints
- Food-safe silicone — for external finishing and junctions
Z-lock panels: Ensure Z-lock profiles engage completely along the full joint length. Partial engagement creates thermal bridges and air leaks — the biggest cause of cool room underperformance. For more detail, see our step-by-step panel joining guide.
✅ EPS Z-lock Wall Panels — interlocking joints for fast, airtight installs. In stock in Adelaide, 35mm / 50mm / 75mm.
Shop Wall Panels →5 Fix Panels Securely (Without Over-Tightening)
Panels should be fixed into appropriate framing or structural supports using corrosion-resistant fasteners. Fixings keep joints compressed and prevent movement over time.
- Typical fixing spacing: 300–400mm (project dependent)
- Use stainless or galvanised screws only
- Do not crush insulation by over-tightening
For guidance on suitable fixings and screw types, see our guide on screwing into coolroom panels.
6 Install Ceiling Panels Carefully
Ceiling joints are the most common location for condensation problems. Ensure ceiling panels are:
- Fully supported and aligned before fixing
- Sealed at every joint and corner — including wall-to-ceiling junctions
- Checked again after installation for gaps or movement
⚠️ Adelaide climate note: South Australia's high summer ambient temperatures put extra pressure on ceiling insulation. In hot climates, consider upgrading ceiling panels to 75mm even if walls are 50mm.
✅ EPS Roof/Ceiling Panels — 1000mm coverage width, custom lengths. Available from Adelaide stock.
Shop Roof Panels →7 Final Inspection and Condensation Check
Before commissioning the cold room, inspect all joints and penetrations:
- No exposed foam or crushed panel edges
- Sealant applied continuously with no breaks or gaps
- Doors, pipes, and cable penetrations fully sealed
- All aluminium channels and corner trims fitted securely
Commission tip: Once sealed, run the refrigeration unit and record baseline temperatures and energy consumption. This gives you a benchmark to identify future performance degradation early.
Summary: Cold Room Panel Installation Checklist
| Step | Key Action | Common Mistake to Avoid |
|---|---|---|
| 1. Site Prep | Level slab, marked corners, clear staging area | Starting on an uneven floor |
| 2. Thickness | Match thickness to target temp | Using 35mm for sub-zero applications |
| 3. First Panel | Plumb, square, fully supported | Rushing alignment at start |
| 4. Sealing | Continuous PU foam + butyl tape at every joint | Spot-sealing instead of continuous bead |
| 5. Fixing | Stainless screws at 300-400mm spacing | Over-tightening and crushing insulation |
| 6. Ceiling | Full support + seal every junction | Leaving ceiling-wall corners unsealed |
| 7. Inspection | Check all penetrations before commissioning | Commissioning before final seal check |
Need Panels for Your Installation?
Cool Room Masters supplies EPS Z-lock wall and roof panels from our Adelaide warehouse — cut-to-length, fast delivery Australia-wide. Talk to our team to spec the right thickness for your project.
Get a Free Quote → Estimate Panel Quantity