Use Case
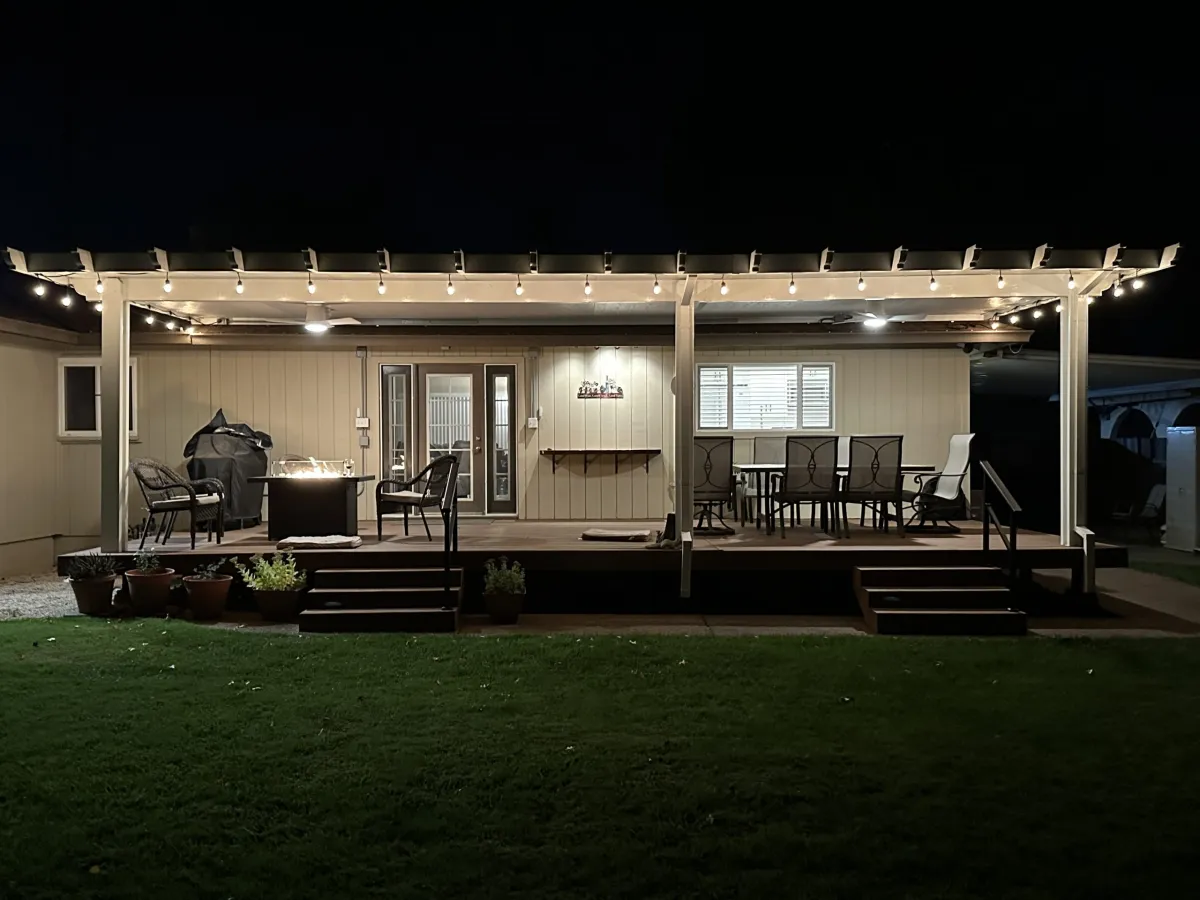
Are you ready to transform your outdoor space with insulated patio roof panels? Installing these energy-efficient, weather-resistant panels can turn your patio into a cozy, year-round retreat—without breaking the bank. As a DIY enthusiast or homeowner, you want a clear, practical guide to get the job done right. That’s where Cool Room Master comes in, offering high-quality panels that are easy to install and built to last. In this step-by-step guide, you’ll discover everything you need to know about how to install insulated patio roof panels, from planning to finishing touches. With expert tips and Cool Room Master’s trusted products, you’ll save money and create a stunning outdoor haven. Let’s get started!
Why Choose Insulated Patio Roof Panels
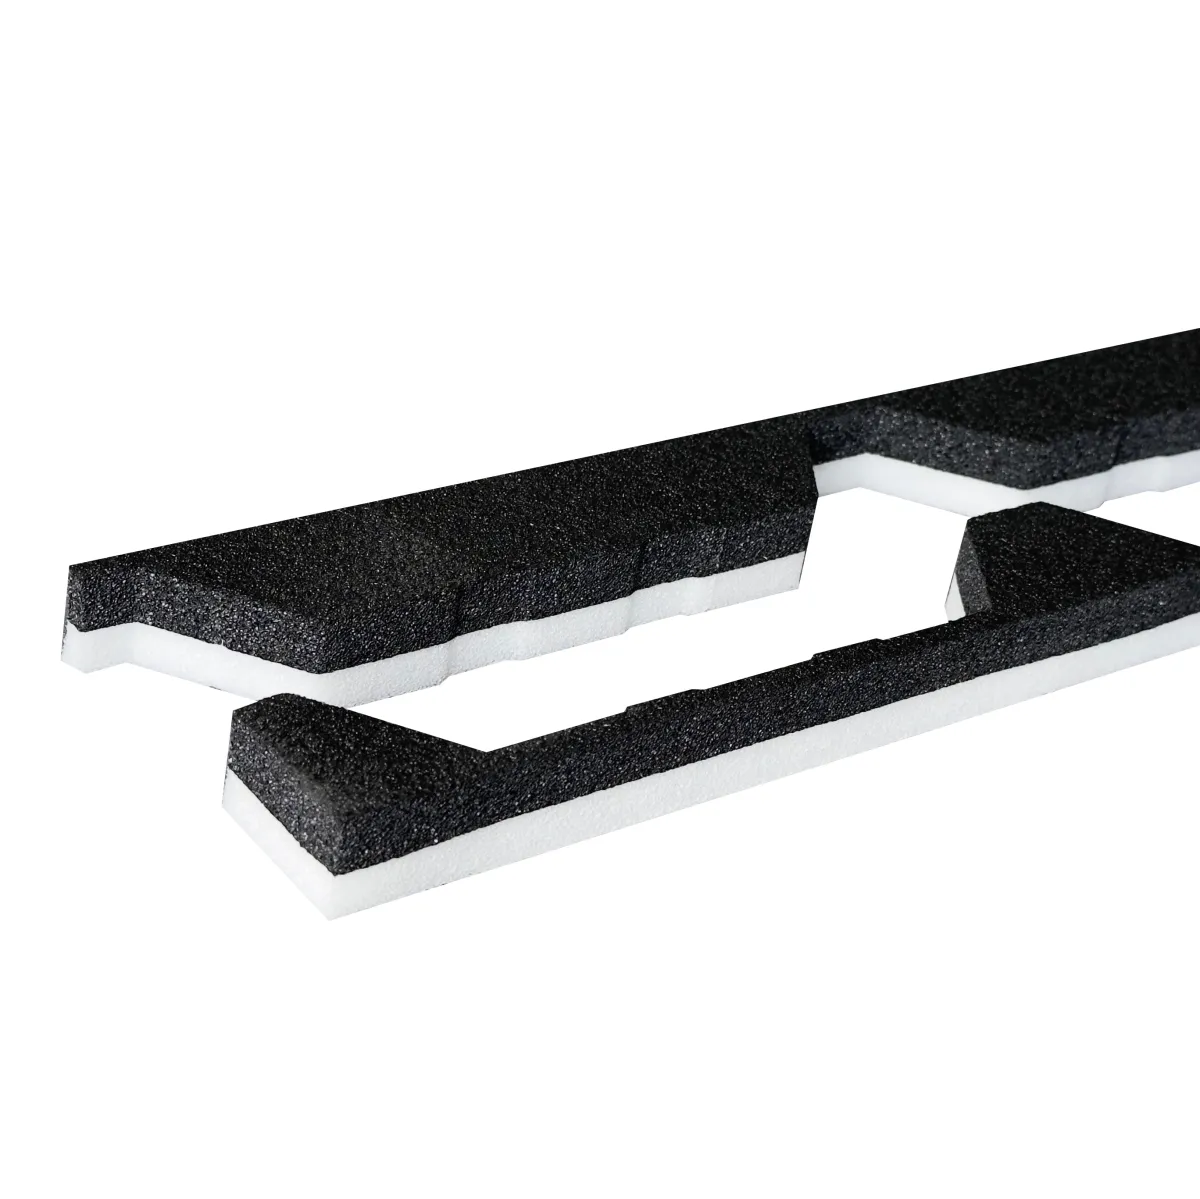
Insulated patio roof panels are a smart choice if you want to boost energy savings, reduce noise, and protect your outdoor space from harsh weather. They keep your patio cooler in the summer and warmer in the winter, so you can enjoy your outdoor living area year-round. These panels also help block out rain, wind, and even loud neighborhood noise, making your patio more peaceful and comfortable.
They’re perfect for patios, pergolas, or outdoor kitchens—any spot where you want a durable, weatherproof roof that enhances your outdoor experience. Cool Room Master’s insulated patio roof panels stand out because they’re tough, lightweight, and easy to install. With honest pricing and real quality, Cool Room Master makes it simple to get a long-lasting patio roof that looks great and performs well.
Tools and Materials You’ll Need
Before starting your insulated patio roof installation, make sure you have the right tools and materials on hand. Here’s what you’ll need:
Essential Tools
- Drill with screwdriver bits
- Level to ensure everything is straight
- Measuring tape for accurate cuts
- Ladder for safe access to the roof area
- Safety gear like gloves and goggles
Materials
- Insulated patio roof panels (like those from Cool Room Master)
- Flashing to protect edges and seams
- Weatherproof sealants to prevent leaks
- Screws designed for outdoor roofing
To get the best quality panels and accessories, check out Cool Room Master’s recommended products here. Their panels are known for durability and easy installation—perfect for your DIY patio roof project.
Step by Step Guide to Installing Insulated Patio Roof Panels
Step 1 Plan and Measure Your Patio Area
Start by measuring your patio space accurately to know exactly how many panels you need. Don’t forget to check local building codes and permits—this step helps avoid any legal issues down the line. Also, plan for a slight slope in your roof to ensure proper water runoff and prevent pooling.
Step 2 Prepare the Framework
Next, set up your support beams or posts. You can use wood, aluminum, or steel depending on your preference and budget. Make sure the structure is level and secure because a solid frame means your insulated patio roof panels will last longer and perform better.
Step 3 Cut and Fit the Panels
Measure and cut the panels to fit your patio using the right tools. Always wear gloves and goggles for protection when handling and cutting panels. For detailed tips on cutting, check out Cool Room Master’s how to cut coolroom panels like a pro.
Step 4 Install the Panels
Attach the panels to the framework using screws and sealants to keep everything tight. Make sure to overlap panels properly to avoid leaks and water damage. Cool Room Master panels come with lightweight, pre-drilled holes, making installation faster and easier for DIYers.
Step 5 Add Flashing and Finishing Touches
Install flashing around edges and seams to protect against weather. Apply sealants to all joints for extra weatherproofing, ensuring your patio stays dry no matter the storm.
Step 6 Inspect and Test
Finally, check your patio roof for any stability issues or leaks. Once satisfied, clean the panels for a sleek, polished look that complements your outdoor space.
Following these steps will help you achieve a durable and efficient insulated patio roof that adds comfort to your outdoor living.
Common Mistakes to Avoid
When installing insulated patio roof panels, there are a few common mistakes you want to steer clear of:
-
Ignoring permits or building codes
Skipping this step can cause problems down the line. Always check local rules before starting your project to avoid fines or having to redo work. For more on compliance, see do EPS panels meet Australian building codes—many rules are similar in the US too. -
Incorrect measurements
Measuring wrong wastes materials and money. Double-check all measurements before cutting panels to get a precise fit. -
Poor sealing
Not sealing edges and overlaps properly leads to leaks and weather damage. Take your time with sealants and flashing.
Pro tip: Cool Room Master includes detailed installation guides with every purchase, making it easier to get the job done right the first time.
Maintenance Tips for Long Lasting Patio Roof Panels
Keeping your insulated patio roof panels in great shape doesn’t have to be hard. Here are some simple maintenance tips to help your patio roof last for years:
-
Clean Regularly: Dirt, dust, and debris can build up on the panels over time. Clean them with a soft cloth or sponge and mild detergent to keep them looking fresh and to prevent damage.
-
Inspect After Storms: Check for cracks, dents, or loose screws after heavy winds, hail, or rainstorms. Early detection helps avoid bigger issues later.
-
Use Recommended Cleaning Products: Stick with Cool Room Master’s cleaning products designed specifically for their insulated panels. These keep your roof panel materials safe without causing wear or discoloration.
Following these tips ensures your patio stays energy-efficient, weatherproof, and looking great for a long time.
Why Choose Cool Room Master for Your Patio Roof Panels
When it comes to insulated patio roof panels, Cool Room Master stands out for honest pricing and real quality you can trust. They deliver durable, energy-efficient panels that are built to last and designed to keep your outdoor space comfortable year-round. Installation is a breeze too, thanks to lightweight panels with pre-drilled holes—making your DIY patio roof project simpler.
If you want reliable materials and better service from a brand that cares about your satisfaction, Cool Room Master is a solid choice. Explore Cool Room Master’s insulated patio roof panels today and see how easy it can be to upgrade your patio with quality you can count on.
I like your writing style truly enjoying this website .