Use Case
Coolroom Panels • Installation • 2026
How to Join Coolroom Panels: Step-by-Step Guide for Airtight Results
A coolroom is only as good as its joints. Even premium panels can fail if the joints aren’t aligned, sealed, and fixed correctly. Use this guide to build a tighter envelope, reduce condensation risk, and keep your coolroom efficient long-term.
On this page
- 1) Choose the right panel thickness
- 2) Understand joint systems (Z-lock, cam-lock, tongue & groove)
- 3) Prep edges and site
- 4) Align and dry-fit
- 5) Seal the joint (airtight + vapour control)
- 6) Fixing & fasteners
- 7) Condensation checklist
- 8) Common mistakes
- FAQ
Plumb first panel
Seal continuously
Fix into framing
Related reading: How to cut cold room panels
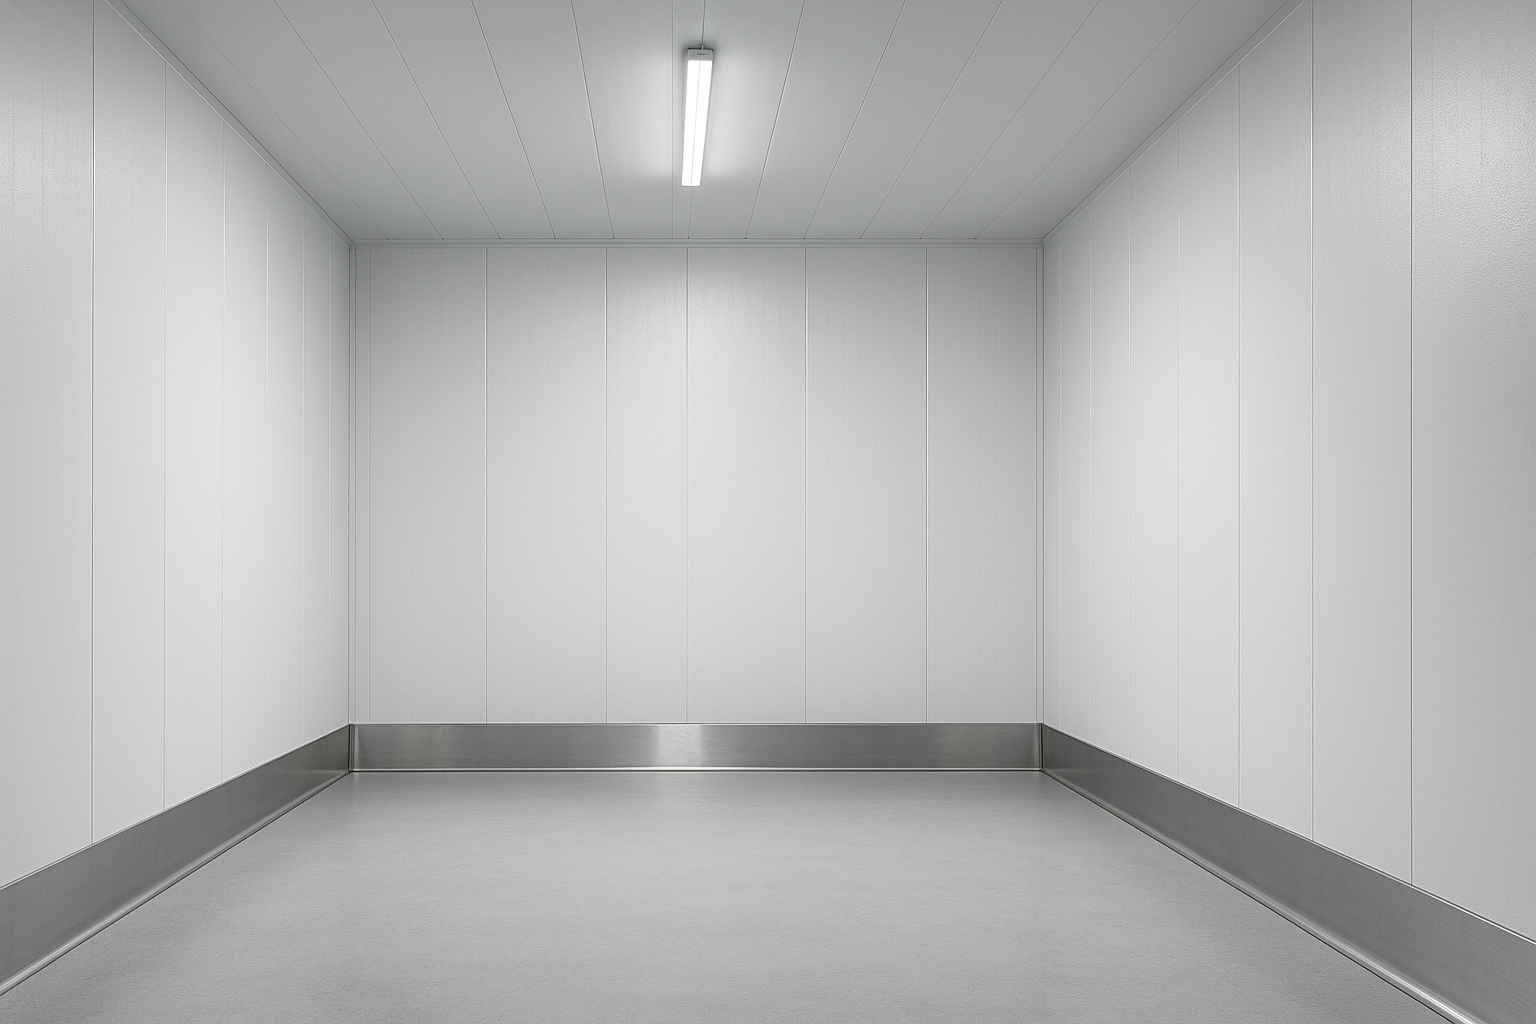
A well-joined panel system stays airtight, hygienic, and easier to keep at temperature.
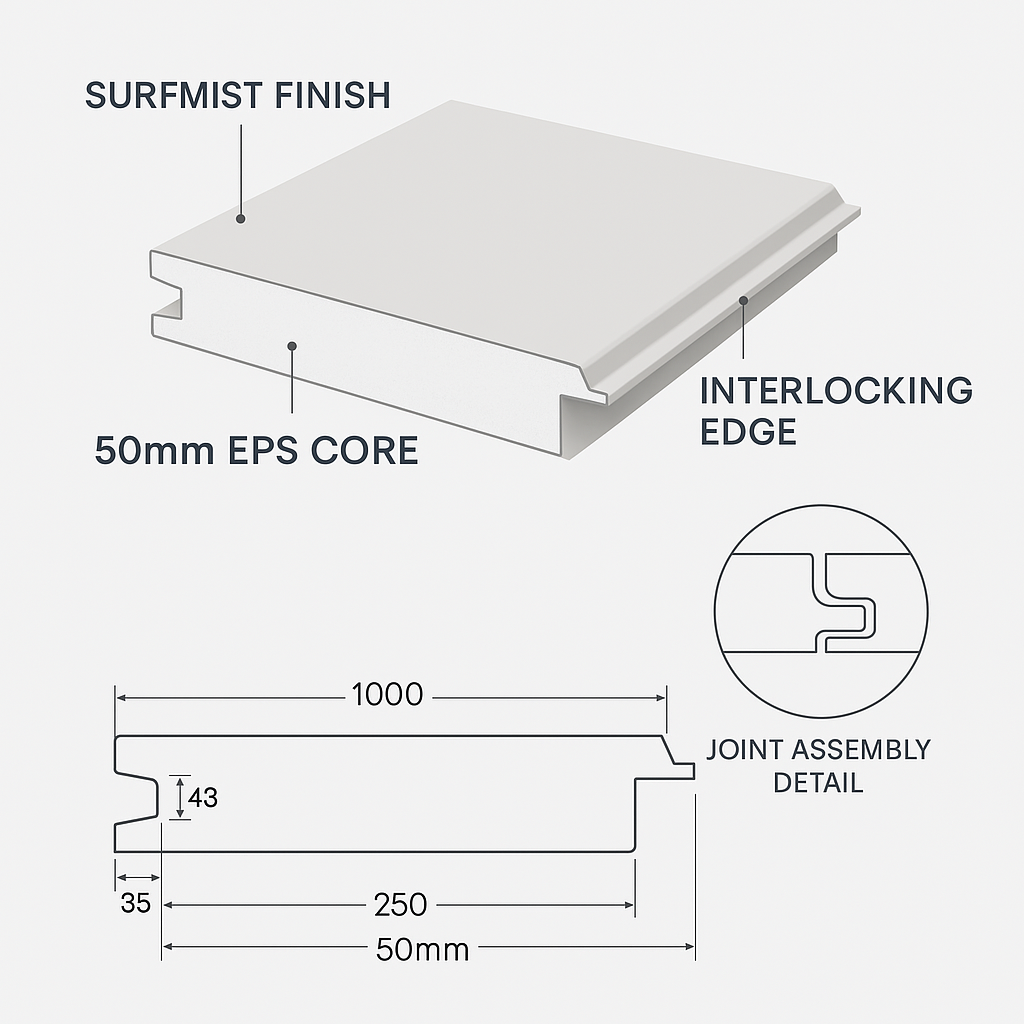
1) Choose the Right Panel Thickness (Before You Start Joining)
Panel thickness affects insulation performance, joint strength, and how stable the room stays at temperature. If you select the wrong thickness, you may fight condensation and higher running costs later.
| Thickness | Typical Use | Notes |
|---|---|---|
| 25mm | Light-duty / display use | Not ideal for serious cold storage |
| 35mm | Medium coolrooms | Works for higher coolroom temps and smaller rooms |
| 50mm | Most commercial coolrooms | Common “all-rounder” thickness |
| 75–100mm | Freezers / colder storage | Better for low temps and high ΔT environments |
If you’re unsure, choose based on target temperature, room size, and how often doors open.
The joint quality matters just as much as thickness.
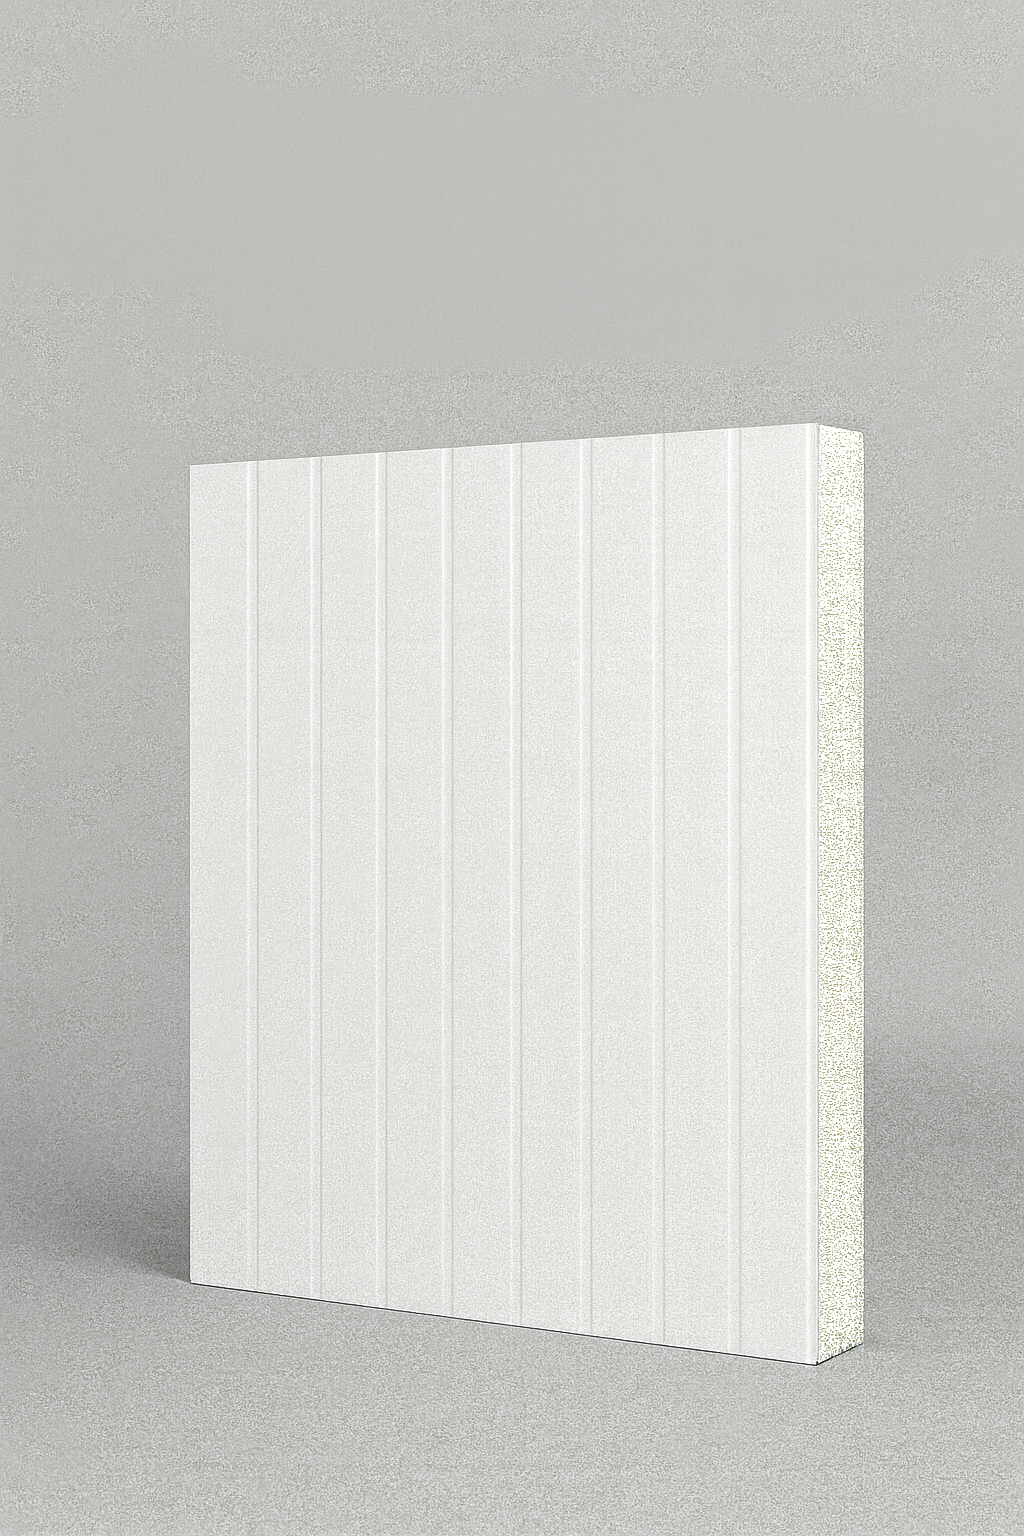
Different thickness panels suit different temperatures—match the panel to your application.
2) Understand Your Joint System
Coolroom panels don’t all connect the same way. Your joining workflow depends on the edge profile and locking method. The goal is always the same: full engagement + continuous seal.
| Joint Type | Where it’s used | What to watch |
|---|---|---|
| Tongue & Groove | Walls / ceilings | Seal the full length; avoid crushed foam |
| Cam-lock | Modular panel rooms | Perfect alignment before locking; don’t force |
| Z-lock | Sandwich panels | Panels must be square; engage fully to avoid leaks |
Best practice: treat the joint like a system, not a seam. You’re building:
- a structural connection
- an airtight seal
- a vapour barrier continuation
3) Prep the Site and Panel Edges
Most joining issues start before any panel is lifted: uneven floors, dirty edges, and damaged profiles. Take 10 minutes here and you save hours later.
Site checks
- Floor/slab is level and clean
- Clear space for handling and staging panels
- Confirm your wall lines and corner reference points
Panel edge checks
- Inspect for dents, burrs, or crushed foam at the joint
- Wipe off dust/oil so sealants bond properly
- Keep cut edges protected (see cutting guide if needed)
Don’t join over debris: swarf, foam dust, or offcuts trapped in joints will create micro-gaps.
Micro-gaps = moisture paths = condensation.
4) Align Panels and Dry-Fit First
If the first panel is out of plumb, every panel after it becomes harder to lock and seal. Start slow.
Alignment workflow
- Set the first corner panel perfectly plumb and square.
- Dry-fit the next panel to confirm the profile engages smoothly.
- Check line and level before applying any sealant.
- Engage the joint fully (no “almost locked” seams).
- Clamp if needed so the panels don’t drift while fixing.
Tip: If you’re getting resistance, don’t force it—check for a twisted panel, debris, or a slightly out-of-square corner.
5) Seal the Joint: Airtight + Vapour Control
Sealing is where performance is won or lost. The best panels still fail if air and moisture can travel through joints. Use the right sealing method for the joint type and location.
| Seal Method | Best use | Why it works |
|---|---|---|
| PU Foam | Internal joints | Expands to fill small gaps |
| Butyl Tape | Metal overlaps / vapour barrier | Excellent long-term vapour seal |
| Silicone | External finishing only | Flexible finish (not ideal as primary internal seal) |
Simple rule: apply sealant right before final engagement so it compresses/flows into the joint.
Don’t let it skin over while you “prepare the next panel.”
6) Fixing Panels: Fasteners and Spacing
Fixings keep the joint compressed and stable over time. Use the right screw type and fix into structure wherever required.
Fixing checklist
- Spacing: typically 300–400mm along joins (project dependent)
- Screws: stainless or galvanised to suit environment
- Do not overtighten: crushing foam can open leak paths
- Fix into framing/supports: don’t rely on the foam core for structural loads
If you need guidance for mounting items later, see: Can you screw into coolroom panels?
7) Condensation Checklist (Do This Before You Close It Up)
Condensation usually starts at tiny gaps in ceilings, corners, and around penetrations. Do a quick inspection after each wall and again after the ceiling.
Quick check
- All joints sealed continuously (no breaks)
- No exposed or crushed foam at edges
- Penetrations (pipes/cables) sealed immediately
- Ceiling joints and corners checked twice
- Clean out swarf/foam debris before final sealing
8) Common Mistakes (and What They Cause)
| Mistake | What happens |
|---|---|
| Skipping sealant | Air leaks → condensation → performance loss |
| Misaligned panels | Joints don’t engage fully → energy loss |
| Wrong screws / poor fixing | Loose seams and movement over time |
| Overtightening | Crushed foam → gaps and leak paths |
Most expensive error: rushing the first panel. If your first panel isn’t straight,
your joints will fight you all day.
Want a quick estimate for your coolroom build?
Use the calculator for a ballpark, then send your size + target temperature for a proper recommendation.
Tip: Send panel thickness, room dimensions, door size, and delivery suburb/postcode for the fastest quote.
FAQ: Joining Coolroom Panels
Do I need to seal every joint, even if the panel “locks” tight?
Yes. Mechanical engagement helps, but sealing stops air and moisture movement. Coolrooms are sensitive to tiny leaks that become condensation points—especially at ceilings and corners.
What spacing should I use for screws?
Many projects use around 300–400mm spacing along joins, but it depends on the room, panel thickness, and structural requirements. Always fix into framing/supports where required.
How do I know the joint is fully engaged?
The seam should close evenly with no visible step or gap, and the panels should feel stable without spring-back. If you’re forcing it, stop and check squareness, debris, and edge damage.
What’s the best way to avoid condensation?
Continuous sealing, no exposed foam, and immediate sealing of penetrations. After installing the ceiling, re-check corners and ceiling joints because they’re the most common leak points.
Final Takeaway
Joining coolroom panels properly is a repeatable process: square setup, dry-fit alignment, continuous sealing, and correct fixing. Do those four things and you’ll get a stronger, more efficient coolroom with fewer condensation issues.
Disclaimer: This is general guidance. Always follow your panel system’s installation requirements and local building/safety rules.
My brother recommended I might like this blog.
He was totally right. This post truly made my
day. You can not imagine simply how much time I had spent
for this info! Thanks!
Thanks for the good writeup. It in fact used to be a leisure account it.
Look complex to far brought agreeable from you! By the way, how can we be in contact?