Use Case
Are you wondering how to install insulated roof panels for your home or project? Getting it right can transform your space with energy-efficient roofing that’s durable and stylish.
As a roofing enthusiast, I’ve seen firsthand how insulated roof panels can save time, money, and energy. At Cool Room Master, we’re passionate about delivering honest pricing and real quality to make your installation a breeze.
In this guide, you’ll discover a clear, step-by-step process for installing structural insulated panels (SIPs) or insulated metal panels (IMPs), plus expert tips to avoid common pitfalls. Whether you’re a DIYer or hiring a pro, we’ve got you covered with practical advice and Cool Room Master’s top-notch solutions.
Let’s get started!
Introduction to Insulated Roof Panels
Insulated roof panels are a smart choice for anyone looking to boost energy efficiency and durability in building projects. There are two main types: Structural Insulated Panels (SIPs) and Insulated Metal Panels (IMPs). SIPs consist of a foam core sandwiched between two rigid boards, while IMPs combine metal sheets with insulation inside. Both offer great insulation, weather resistance, and faster installation compared to traditional roofing.
Using insulated roof panels means lower energy bills thanks to excellent thermal performance. They also add strength to your roof and speed up the building process because they come prefabricated and ready to install. That’s why many homeowners and businesses trust Cool Room Master for top-quality panels. We deliver honest pricing, real quality, and better service to make your project easy and reliable.
Why choose insulated roof panels for your project? Beyond saving on energy costs, they reduce your environmental impact by lowering heating and cooling demands. These panels fit a wide range of applications—from residential homes and patios to commercial buildings and industrial facilities. If you want a roof that’s efficient, durable, and quick to install, insulated roof panels are a smart investment.
Preparation for Installing Insulated Roof Panels
Measuring Your Roof Accurately
Before you start installing insulated roof panels, getting your measurements right is key. Accurate measurements help avoid costly mistakes and ensure a smooth installation. Be sure to measure:
- Roof pitch – the angle or slope
- Purlin spacing – the distance between support beams
- Total slope length – from ridge to eave
Use a reliable tape measure for lengths and consider smartphone apps that can calculate roof pitch quickly and accurately. Cool Room Master also offers custom panel sizing, so precise measurements mean your panels fit perfectly with minimal cutting or adjustments.
Tools and Materials Needed
To install insulated roof panels, make sure you have these essential tools on hand:
- Drill with appropriate bits
- Circular saw for cutting panels
- Tin snips for trims
- Rivet gun for securing fasteners
- Caulking gun for sealants
For materials, you’ll need:
- Insulated roof panels (SIPs or IMPs from Cool Room Master)
- Fasteners like self-tapping screws or Tek-style fasteners
- Sealants for weatherproofing and airtight joints
- Flashings and trims to finish edges
Using Cool Room Master’s high-quality kits means you get all the right materials designed to work together, which saves time and guarantees durability.
Checking Local Regulations and Permissions
Before purchase or installation, check your local building codes and council requirements. For example, in Queensland, Australia, projects under 9 square meters may not need formal approvals, but most larger applications do. Rules vary by state and city in the U.S., so:
- Contact your local building department
- Confirm if permits are needed
- Ensure compliance with energy and structural codes
Consulting with professionals or Cool Room Master’s support team can help you avoid delays or fines and keep your project on track.
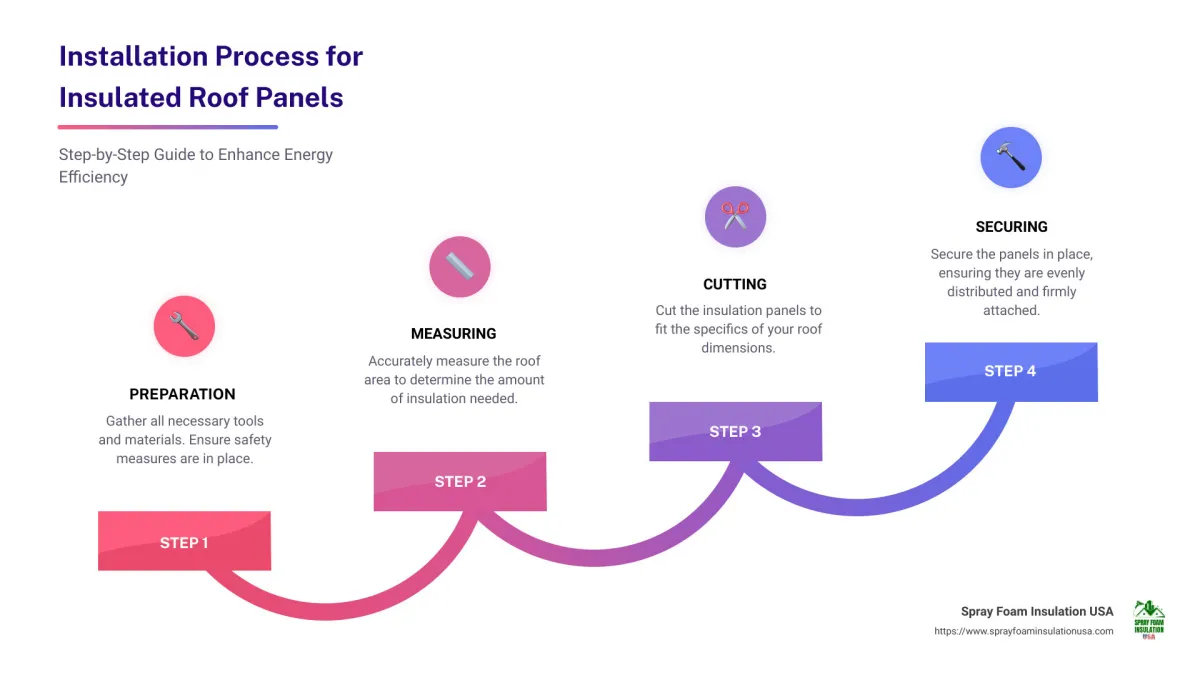
Step-by-Step Guide to Installing Insulated Roof Panels
Step 1 Preparing the Roof Structure
Start by making sure your roof’s structure is solid and aligned. Purlins should be spaced no more than 2 feet apart to support the panels properly. If your roof isn’t vented, install a vapor barrier or roofing felt to protect against moisture build-up and improve energy efficiency.
Step 2 Handling and Positioning Panels
Handle your insulated roof panels carefully to avoid damage. Keep them off the ground and cover them to protect from rain or dirt. For larger panels over 8 by 8 feet, use cranes or forklifts during transport and positioning to make installation safer and easier.
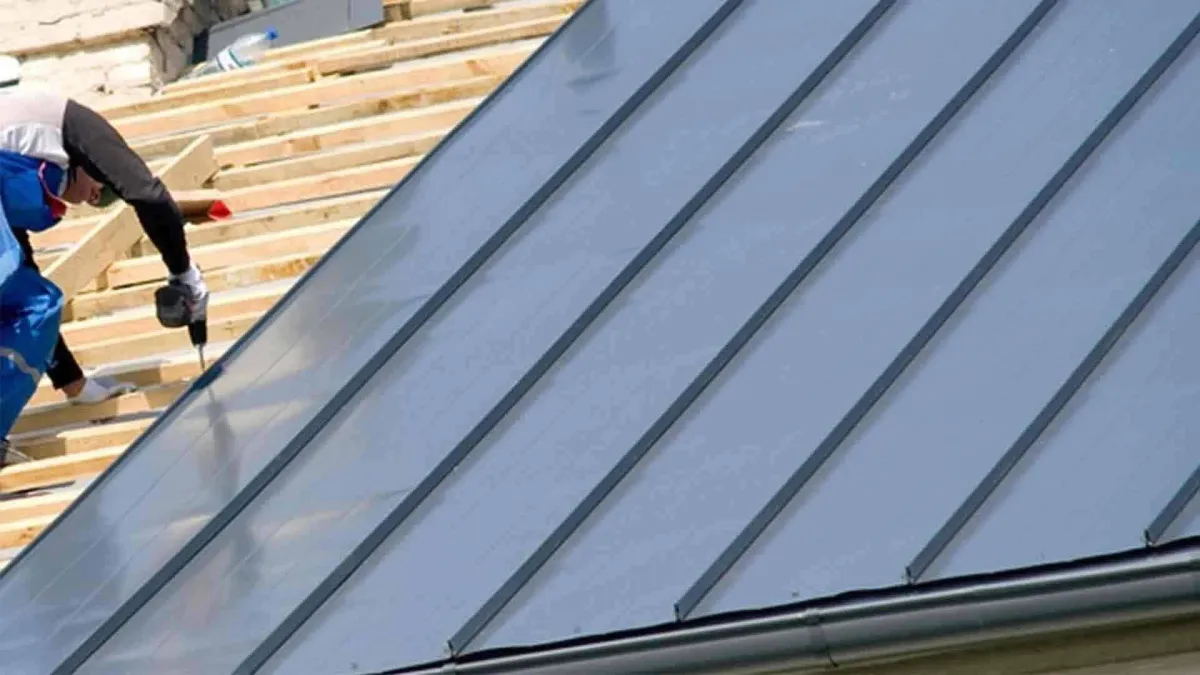
Step 3 Securing Panels to the Roof
Attach panels with self-tapping Tek-style fasteners or screws—plan on about 9 to 12 fasteners per panel to hold them firmly. Use foam-friendly adhesive along joints to create airtight seals. Make sure panels overlap correctly and the joint seams face away from the direction of prevailing winds to prevent leaks.
Step 4 Sealing and Finishing
After fastening, apply weather and vapor seals to both the inside and outside of the panels. Install flashings, trims, and seal around roof penetrations like skylights or vents to keep everything watertight and weather-resistant.
Step 5 Final Inspection and Testing
Take time to thoroughly check your roof for any gaps, loose panels, or spots that could let water or air in. Test for structural stability and weather tightness. Remember, Cool Room Master offers ongoing support and advice after installation to ensure your roof performs at its best.
Common Mistakes to Avoid
When installing insulated roof panels, avoiding these common errors can save you time and money.
Improper Measurements and Alignment
Measuring your roof incorrectly or having misaligned purlins can cause panels to not fit properly. This leads to gaps, leaks, or weak spots in your roof. Always double-check measurements like pitch, spacing, and length before ordering panels.
Using Incorrect Fasteners or Sealants
Not using the right fasteners or sealants can compromise the roof’s durability and energy efficiency. Stick to manufacturer-recommended screws and weatherproof sealants designed for insulated roof panel installation to ensure a tight, lasting fit.
Skipping Professional Help for Complex Projects
While DIY installation might work for small jobs, structurally engineered panels like SIPs or IMPs often require professional know-how for proper handling and fit. Skipping expert help can lead to costly mistakes, especially on larger or more complex roofs. When in doubt, consulting a professional is the safest bet.
Benefits of Professional Installation with Cool Room Master
Why Hire a Professional
Hiring a pro to install your insulated roof panels means you get the job done right the first time. Professionals bring experience that guarantees precise panel placement, proper alignment, and compliance with local building codes, so you avoid costly mistakes. Cool Room Master works with a trusted network of trained installers who know how to handle both structural insulated panels (SIPs) and insulated metal panels (IMPs), ensuring your roof is solid, efficient, and weather-tight.
Cost and Time Savings
Using professional installers from Cool Room Master often saves you money in the long run. Their expertise means faster installation times, which cuts down on labor costs and disruption to your project timeline. Proper installation also maximizes energy efficiency, reducing heating and cooling bills over time. With Cool Room Master’s honest pricing, real quality panels, and better service, you get a smart investment that pays off through durability and energy savings.
Maintenance Tips for Insulated Roof Panels
Keeping your insulated roof panels in good shape is easier than you might think. Here’s how to make sure they last long and perform well:
Regular Cleaning and Inspection
- Remove leaves, dirt, and debris regularly to prevent buildup.
- Use a low-pressure washer or garden hose to clean the surface—avoid high pressure that could damage the panels.
- Inspect your panels for signs of wear, dents, or cracks at least twice a year, especially after storms.
Repairing Damage
- If you find any damaged panels, replace them as soon as possible to avoid energy loss or water leaks.
- Always use matching sizes and types for replacement panels to maintain insulation and structural integrity.
- Seal any minor cracks or gaps with manufacturer-recommended sealants to keep the roof airtight.
Cool Room Master’s Maintenance Support
- We offer access to replacement panels that fit perfectly with your existing roof system.
- Our team is available to provide expert advice on upkeep and repairs to keep your insulated roof panels working efficiently.
- With honest pricing and real quality, you can trust Cool Room Master for support when you need it.
Frequently Asked Questions
What tools do I need to install insulated roof panels
You’ll need a drill with screw bits, a circular saw for cutting panels, tin snips, a rivet gun, and a caulking gun for sealants. Don’t forget a tape measure and a smartphone app to check roof pitch. Using quality fasteners and sealants recommended by Cool Room Master is key for a solid installation.
Can I install insulated roof panels myself
If you’re handy and have some experience with roofing, you can install some insulated panels yourself, especially smaller projects. But for larger or complex roofs, professional help is a smart call to ensure everything fits right and meets local codes.
How long does it take to install insulated roof panels
Installation time depends on roof size and complexity. On average, a typical residential roof can take 1 to 3 days. Prefabricated panels from Cool Room Master cut installation time significantly thanks to their precise sizing and fastener systems.
What is the cost of insulated roof panels from Cool Room Master
Costs vary based on panel type, size, and customization. Cool Room Master offers honest pricing, providing real quality without surprise fees. For a detailed quote tailored to your project, it’s best to contact their team directly.
Are insulated roof panels suitable for my climate
Yes, insulated roof panels like SIPs and IMPs work well across various U.S. climates. They improve energy efficiency by maintaining indoor temperatures, helping both in hot and cold weather. Cool Room Master’s panels are designed to provide reliable insulation and durability no matter where you live.