Use Case
🛒 EPS Coolroom Panels — Z-lock Joining, No Screws Through Panels Needed
Our Z-lock EPS panels interlock without screws through the panel face, maintaining the cold seal. Available 35mm–100mm, from our Adelaide warehouse.
Shop EPS Panels → Ask Our Team →
Fixings • AQIS • 2026
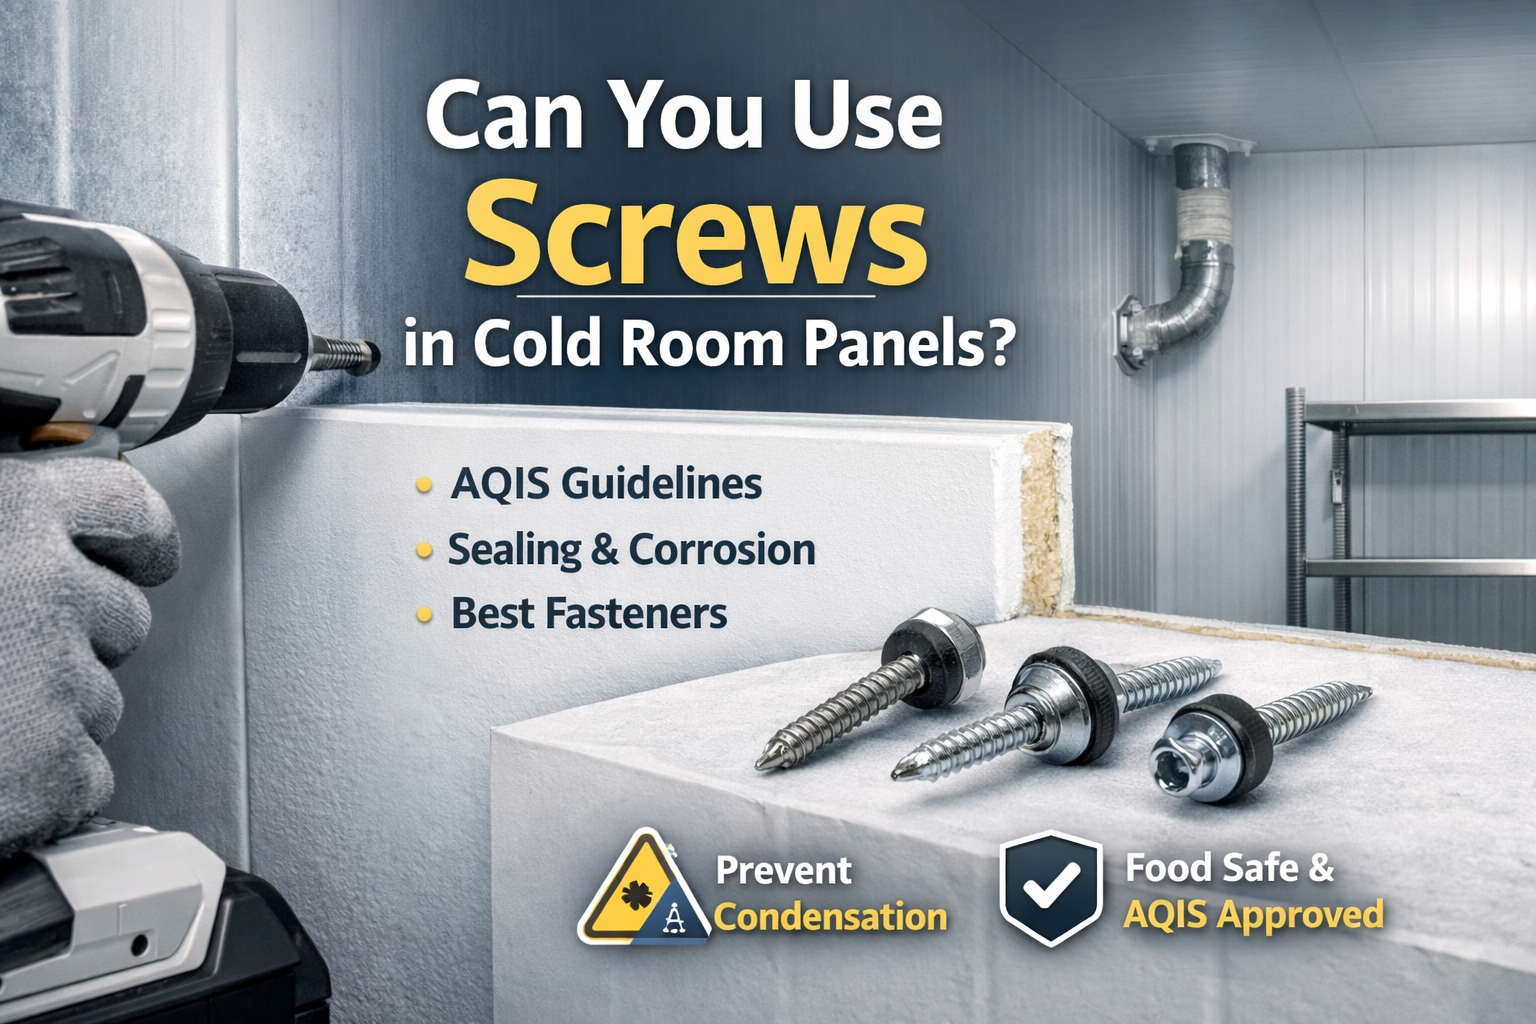
Can You Use Screws in Cold Room Panels? AQIS-Friendly Fixing Guide
Yes—you can screw into cold room panels, but only if you do it the right way. The wrong fastener (or poor sealing) can create air leaks, corrosion, thermal bridging, and hygiene risks. This guide explains what to use, where to screw, and how to keep your cold room airtight and durable.
What you’ll learn
- Quick answer + when screws are OK
- AQIS considerations (food-safe + corrosion resistance)
- Best screw types for cold rooms
- Step-by-step: how to screw into panels safely
- Where screws are commonly used
- Mistakes that cause leaks & condensation
- FAQ
Need panel join guidance too? Read the joining guide.
In cold rooms, sealing matters as much as fixing—every penetration must be sealed.
In cold rooms, sealing matters as much as fixing—every penetration must be sealed.
Quick Answer: Yes—But Use the Right Screws and Seal Every Hole
Screws are commonly used in cold room construction for fixing trims, joining details, door frames, brackets and accessories. The key is to choose corrosion-resistant screws, match the screw length to the panel/build-up, and keep the room airtight and moisture-tight by sealing every screw head and penetration.
Rule of thumb: If you can feel air movement or see a tiny gap around a screw, condensation can form there later.
Tight fixing + correct sealing prevents most “mystery” moisture problems.
AQIS Considerations: Food Safety, Corrosion Resistance, and Cleanability
Where panels are used for food handling or cold storage, fixings should be selected with hygiene and durability in mind. In practice, that means screws should resist rust, avoid trapping moisture, and help maintain a sealed, easy-to-clean surface.
What “AQIS-friendly” fixing usually means in real installs:
- Use stainless or suitable coated screws for humid cold-room environments
- Use sealing washers or food-safe sealant so moisture can’t track into the panel
- Avoid rough, rust-prone fixings that can create contamination or maintenance issues
- Prevent condensation “cold spots” by keeping penetrations minimal and properly sealed
Best Screws for Cold Room Panels
Cold room panels typically have a rigid insulation core (often PU/PIR) with metal skins. You want a screw that can bite cleanly, resist corrosion, and maintain a sealed finish at the head.
| Screw Type | Best for | Why it works |
|---|---|---|
| Stainless steel screws | High-humidity cold rooms, wet areas, wash-down zones | Strong corrosion resistance and longer service life |
| Insulated panel screws (coated) | General panel fixing into suitable structure | Designed for sandwich panels; better bite and durability |
| Screws with sealing washers | External faces, trims, brackets, penetrations | Helps stop moisture ingress around the head |
| Self-drilling / self-tapping (panel-rated) | Metal skin applications (when appropriate) | Cleaner installation—still needs sealing and correct torque |
Avoid: generic indoor screws (e.g., drywall-type) in cold rooms.
They often rust, lose grip, and create leak paths.
How to Screw into Cold Room Panels Safely (Step-by-Step)
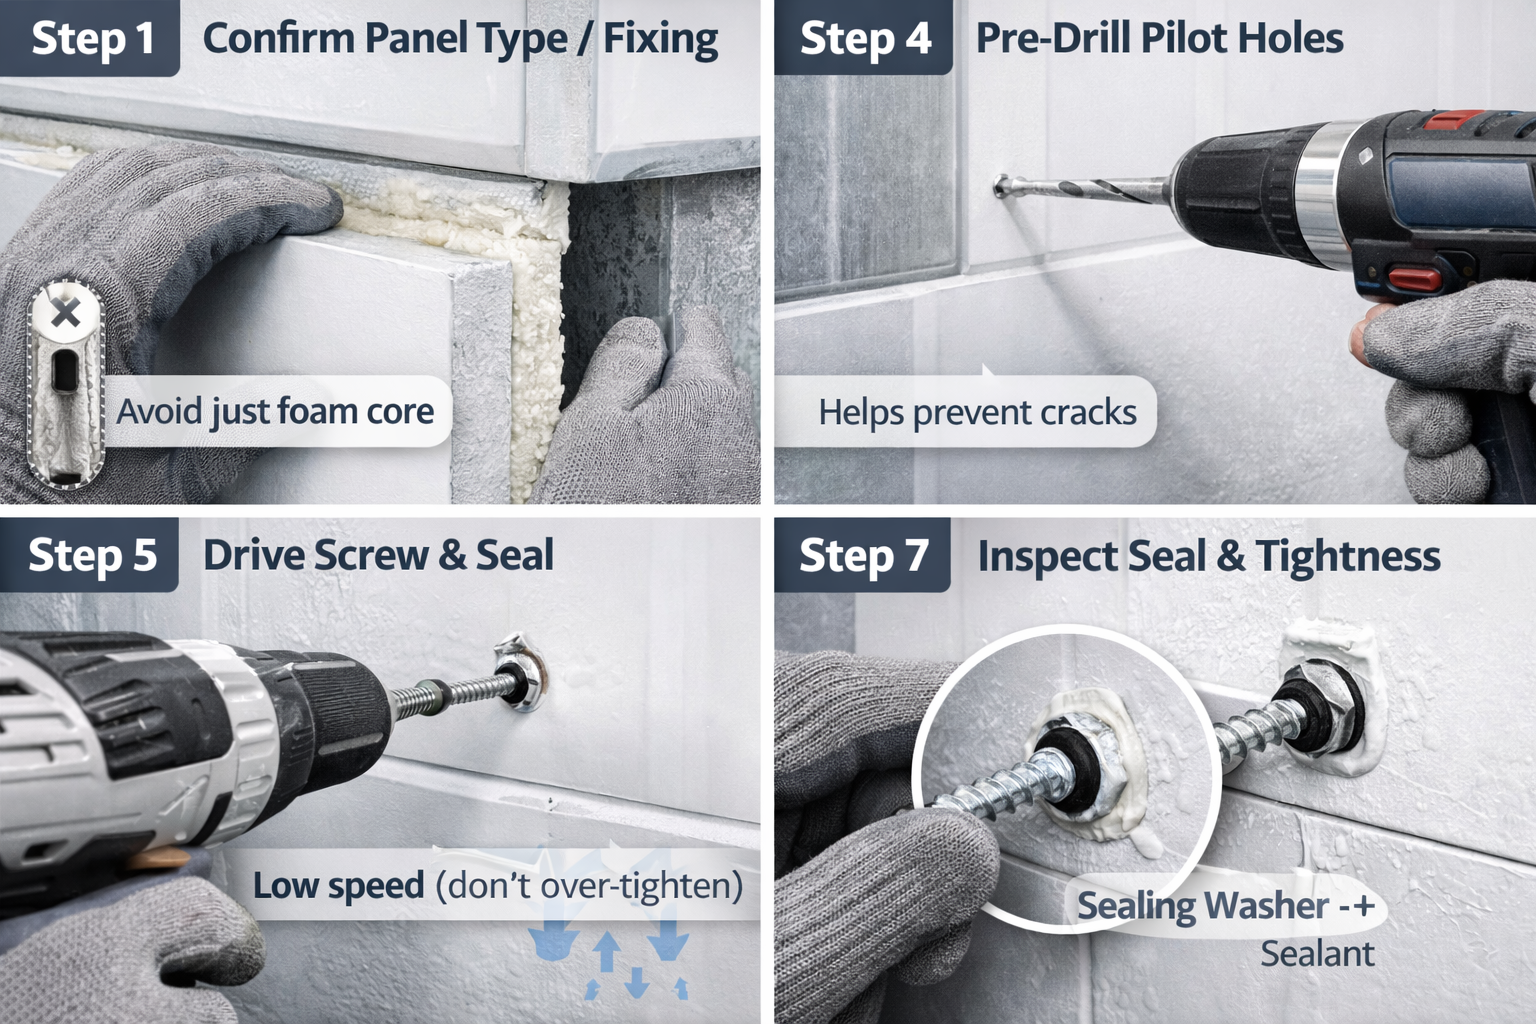
Step 1: Confirm what you’re fixing into
Whenever possible, fix into framing, joiners, brackets, or structural supports—not just foam core. This improves holding strength and reduces the risk of crushing the panel.
Step 2: Choose correct screw length
The screw should be long enough to secure the component properly, but not so long that it causes damage or creates unwanted penetrations on the opposite face.
Step 3: Mark positions and keep off edges
Plan spacing evenly and avoid placing screws too close to panel edges where skins can distort or crack.
Step 4: Pre-drill when needed
Pilot holes can reduce skin distortion and help screws go in straight—especially on metal skins and precise trim details.
Step 5: Drive screws at low speed (don’t over-tighten)
Over-tightening can crush insulation and deform skins—this creates micro-gaps that lead to air leakage and condensation.
Step 6: Seal the screw head
Use sealing washers and/or an appropriate sealant so moisture cannot track into the panel around the screw head.
Step 7: Inspect immediately
Check for gaps, wobble, crushed foam, or distortions. Fix issues now—small problems get bigger once the room is operating.
If you’re also planning to cut panels for penetrations or accessories, see: Cut cold room panels safely.
Where Screws Are Commonly Used in Cold Rooms
- Trims, flashings, and corner details
- Door frames and hardware mounts
- Brackets, clips, and support angles
- Service penetrations (only when sealed properly)
- Light-duty accessories (prefer mounting plates or brackets instead of relying on foam)
For heavier loads (e.g., shelving or hanging equipment), use proper supports or mounting solutions designed for panel systems.
Don’t treat foam core like timber framing.
Common Mistakes That Cause Leaks, Rust, and Condensation
| Mistake | What it causes |
|---|---|
| Using non-corrosion-resistant screws | Rust, loosening, hygiene issues, premature failure |
| Skipping pilot holes on sensitive details | Panel skin distortion, uneven joints, weak fixings |
| Over-tightening | Crushed insulation, micro-gaps, thermal bridging points |
| Not sealing screw heads | Moisture ingress, leaks, condensation around fixings |
| Screws too close to edges | Warping, cracking, poor engagement at joins |
Most common failure pattern: screws hold fine at first, then condensation forms at tiny unsealed penetrations.
Seal it properly from day one.
Need panels, fixings, or a quick estimate?
Use the calculator for a fast estimate, or send your room size and target temperature for practical advice.
Tip: Include panel thickness, room dimensions, door size, and delivery suburb/postcode for faster recommendations.
FAQ: Screws in Cold Room Panels
Do screws reduce insulation performance?
A few correctly installed screws usually won’t “ruin” insulation, but poorly sealed penetrations can create cold spots and condensation points. Use the right fasteners and seal everything.
Should I always use sealing washers?
For most cold-room applications, sealing washers are a smart choice—especially on external faces, trims, and any area exposed to moisture or wash-down conditions.
Can I screw directly into the foam core?
For very light items, sometimes—but it’s not ideal. For anything with meaningful load, use framing, supports, brackets, or mounting plates designed for panel systems.
How often should fixings be checked?
In commercial use, a simple inspection every 6–12 months helps spot corrosion, loosening, or sealant breakdown before it becomes a leak.
Final Takeaway
Yes, you can use screws in cold room panels—but treat every screw as a controlled penetration. Choose corrosion-resistant insulated panel screws, avoid over-tightening, and seal every fixing point to keep your cold room efficient, hygienic, and long-lasting.
Disclaimer: This article is general guidance only. Always follow your panel system specifications and site requirements.