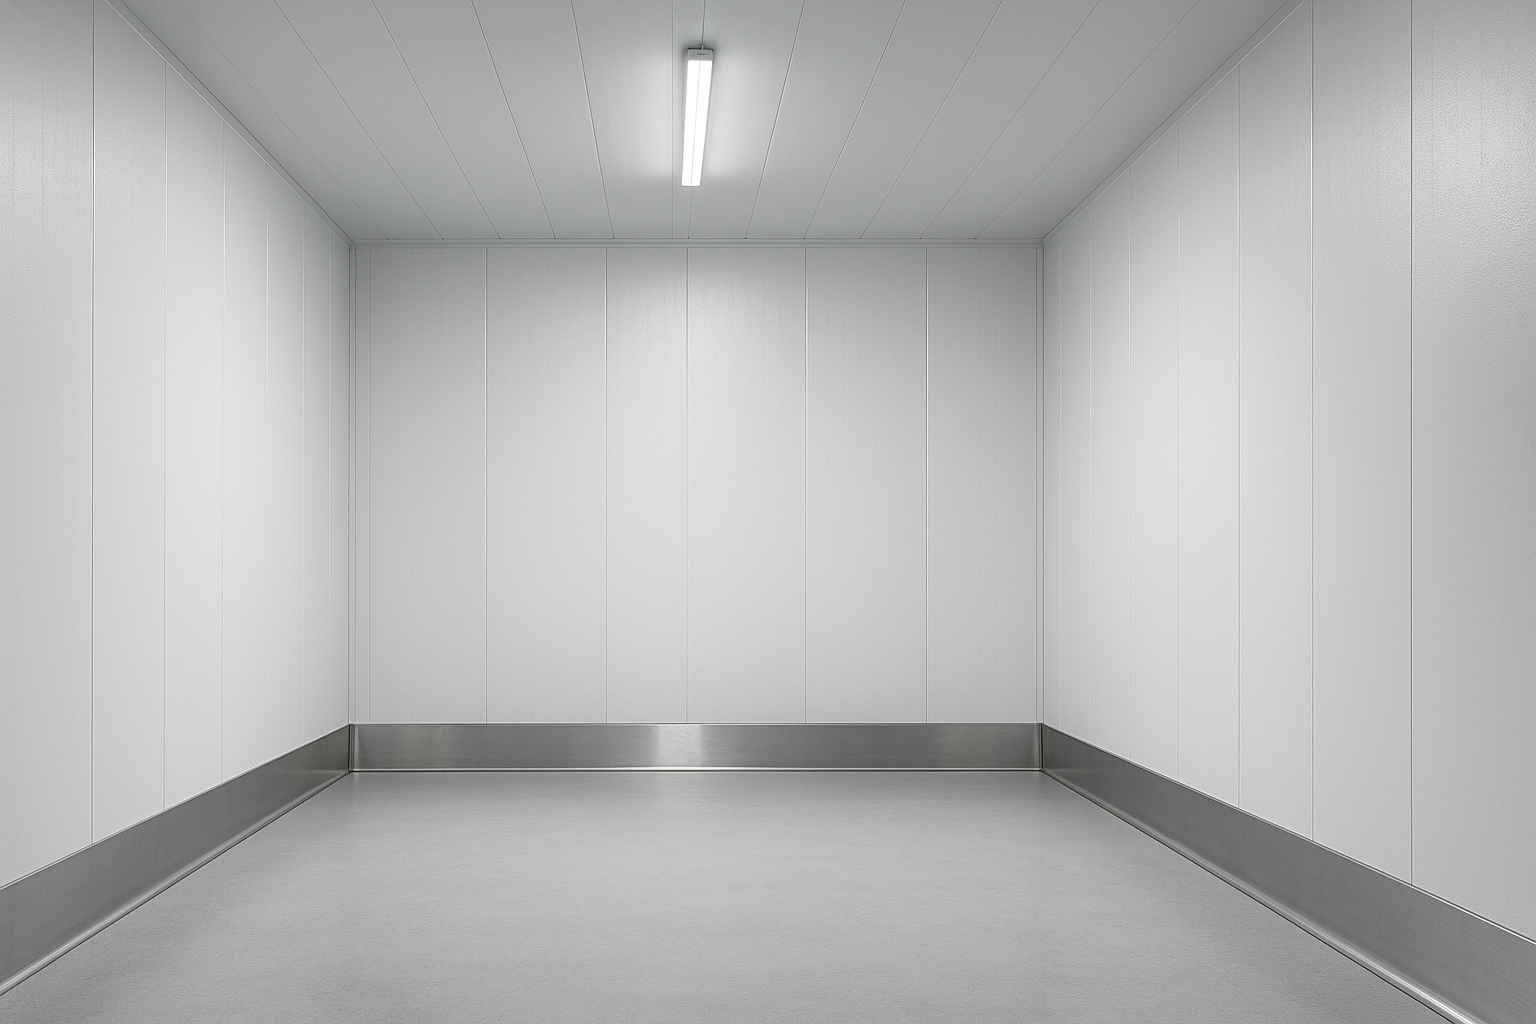
Use Case
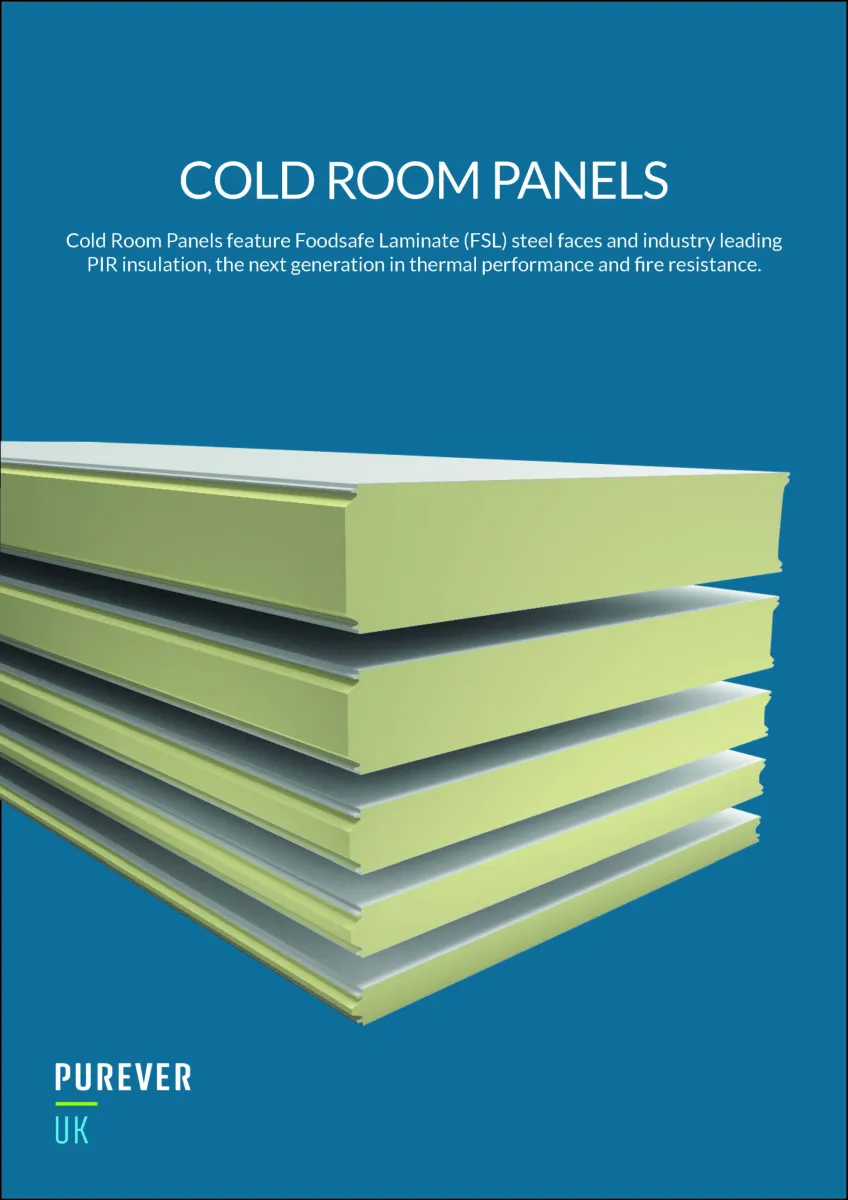
Cold Room Panels • Cutting Guide
How to Cut Cold Room Panels (PU / PIR / EPS) Without Damaging Insulation
Cutting insulated cold room panels is simple when you use the right blade, support the panel correctly, and seal the edge immediately. This guide covers tools, step-by-step cutting, edge sealing, and safety.
Related reading: Do EPS panels meet Australian building codes?
Quick Navigation
1) Understanding Cold Room Panels Before You Cut
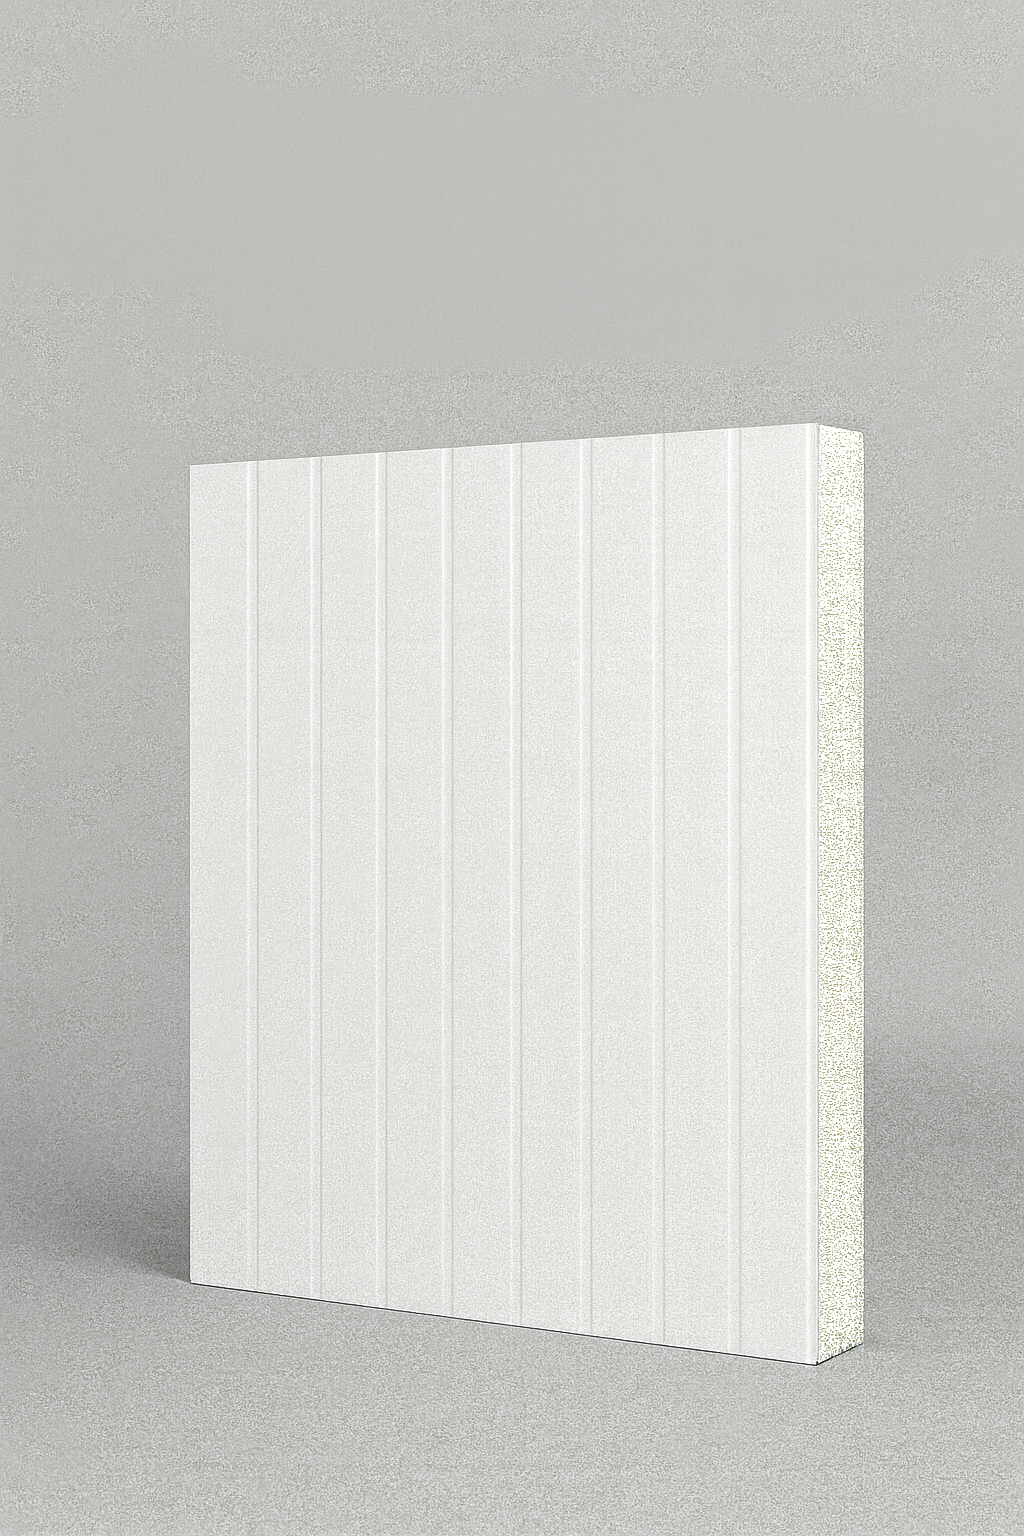
Most cold room panels are “sandwich panels”: metal skins with an insulated core. How cleanly you can cut depends on the core type (PU / PIR / EPS), panel thickness, and how well the panel is supported during the cut.
Why edge quality matters:
- Jagged skins = hard to seal and easier to rust.
- Crushed core = air gaps and weaker thermal performance.
- Messy joints = harder to keep hygienic and airtight.
Typical thickness guide
| Thickness | Common use | Cutting note |
|---|---|---|
| 25–50mm | Small cool rooms / light duty | Support well to avoid flex; consider scoring to reduce chipping. |
| 50–75mm | Most commercial cool rooms | Track saw or fine-tooth circular saw gives the cleanest straight cuts. |
| 75–100mm+ | Freezers / very low temps | Use the correct blade, slow feed rate, and seal edges immediately. |
2) Tools Needed for Cutting Cold Room Panels
The goal is a straight cut with minimal burrs on the metal skin and minimal tearing of the core.
Recommended tools
- Track saw (best for long straight cuts and cleaner edges)
- Circular saw with a fine-tooth blade (good all-round option)
- Jigsaw for cut-outs (use the right blade and go slow)
- Oscillating multi-tool for detail cuts around corners
- Clamps + straight edge to stop panel movement
- Vacuum / dust extractor for foam dust + swarf control
Blade tip: Use a blade suited to metal skins + insulated sandwich panels.
Follow your tool manufacturer guidance for blade direction and safe blade changes
(example: Hilti circular saw operating instructions).
View example guidance
3) Step-by-Step: How to Cut Cold Room Panels Cleanly

Step 1 — Measure and mark
Measure twice, mark once. Use a straight edge for long cuts. For cut-outs (service penetrations), mark the exact opening and confirm clearance.
Step 2 — Support the panel (don’t let it flex)
Lay the panel on a flat surface with continuous support under the cut line. Flexing is what causes tearing, chipping, and crushed insulation.
Step 3 — Cut the metal skin smoothly
Start with steady feed rate. Let the blade do the work. Rushing creates burrs and heats the skin.
Step 4 — Keep the core intact
PU/PIR cores cut cleanly with the correct blade. EPS is more prone to tearing—go slower and keep support tight.
Step 5 — Seal the cut edge immediately
Any exposed core should be protected to reduce moisture ingress and maintain airtight performance. Use edge tape / sealant appropriate for cold room environments.
Pro finishing tip:
Lightly deburr the metal edge, remove swarf, then seal. Clean edges = cleaner joints = better airtightness.
4) Best Practices for Professional Results
Avoid common mistakes
- Cutting on an uneven surface (panel flex = cracked skin + crushed core)
- Wrong blade / dull blade (burrs and tearing)
- Not cleaning swarf (rust spots, injuries, messy seals)
- Leaving edges unsealed (moisture ingress and performance loss)
Make airtight seals easier
Do this:
- Keep cuts straight and square.
- Deburr metal edges before sealing.
- Seal edges the same day as cutting.
Avoid this:
- Overheating the skin (fast cutting).
- Crushing foam while clamping.
- Installing panels with swarf trapped in joints.
Need panels or accessories? Browse our wall panels here: Wall Panels.
5) Safety Considerations When Cutting Cold Room Panels

- Gloves: metal skins are razor sharp after cutting.
- Eye protection: swarf can fly fast during power cutting.
- Respiratory protection: foam dust and airborne particles can be harmful.
- Ventilation + fire control: manage dust and avoid ignition sources.
For general Australian guidance on airborne contaminants and safe work practices, see Safe Work Australia:
Airborne contaminants
Why Choose Cool Room Master for Cold Room Panels?
We supply insulated panels built for real-world cold storage—plus practical advice on installation, cutting, sealing, and accessories.
- Panels for different needs: EPS / PU / PIR options depending on budget and performance.
- Project support: guidance on cutting and sealing so your room stays airtight.
- Local help: get the right product faster with clear support.
FAQs About Cutting Cold Room Panels
What’s the best tool for cutting cold room panels?
For long straight cuts, a track saw gives the cleanest result. A fine-tooth circular saw is the common alternative. Use a jigsaw/oscillating tool for cut-outs and detail work.
Can I cut panels with a regular saw?
You can, but it usually creates rough edges, burrs, and insulation tearing. A blade designed for metal-faced insulated panels is strongly recommended.
How do I prevent insulation damage while cutting?
- Support the panel fully near the cut line.
- Use the correct, sharp blade and slow feed rate.
- Clamp without crushing the foam core.
- Seal the exposed edge immediately after cutting.
How do I choose panel thickness?
It depends on target temperature, room size, and performance needs. 50mm is common for many cool rooms; 75–100mm+ suits freezers and lower temps. If you’re unsure, contact us and we’ll help you select the right option.